 Pin It
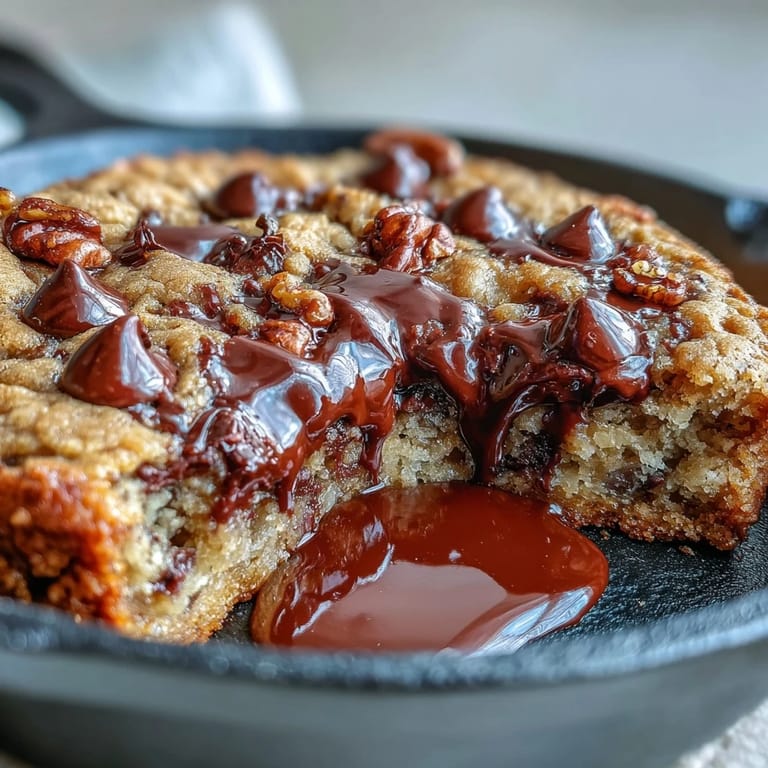
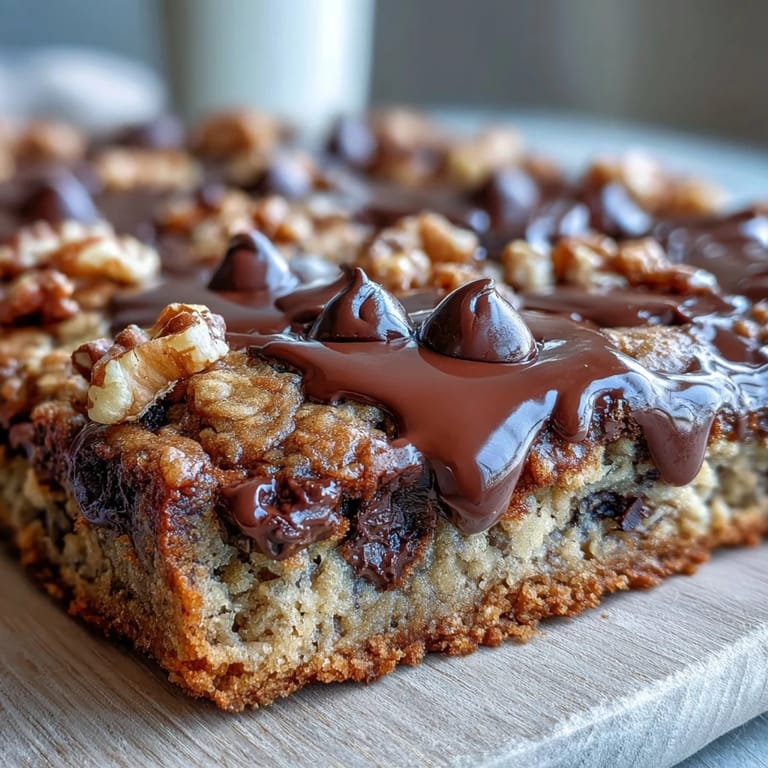
 One Saturday morning, my roommate emerged from her bedroom asking if something smelled like a smoothie bar had exploded in the best way possible. I'd been tinkering with a cast-iron skillet cookie that tasted like a Chunky Monkey smoothie—banana, chocolate, walnuts, all baked into something warm and shareable. She grabbed a fork straight from the pan before it fully cooled, and suddenly I understood why this felt different from regular cookies: it was meant to be eaten together, passed around, still steaming.
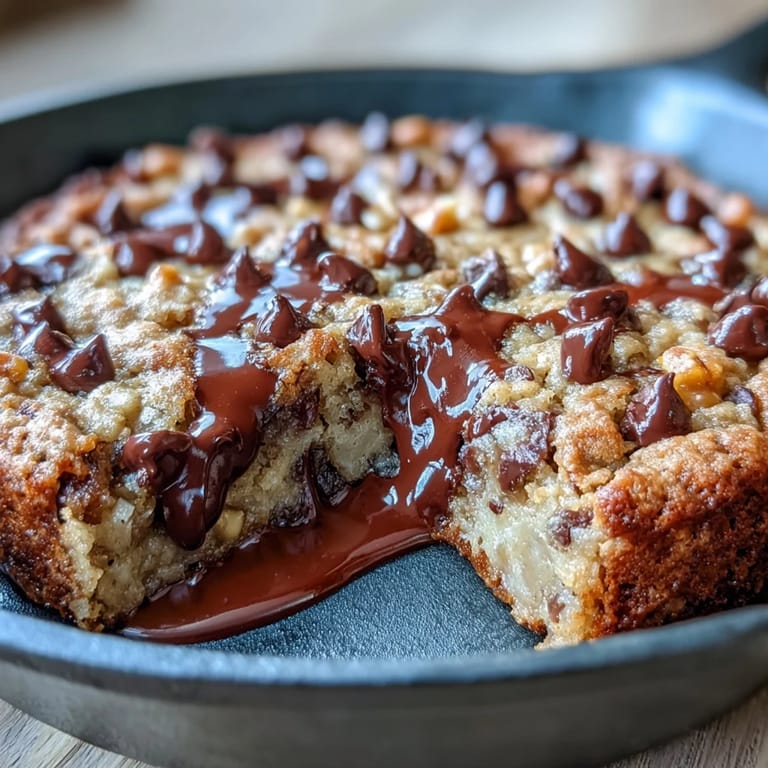
I made this for a small dinner party where everyone was tired and conversation had gone quiet. Pulling the skillet from the oven, golden and fragrant, shifted the whole mood—suddenly people were leaning in, asking what it was, and the dessert became the moment that changed the evening. There's something about food that arrives warm and communal that does that.
Ingredients
- Old-fashioned rolled oats (1½ cups): They give structure and texture without making this feel like health food—these are the backbone.
- All-purpose flour (1 cup): Standard, reliable, and works with the oats to create that cookie-skillet hybrid texture.
- Baking soda and baking powder (½ teaspoon each): Baking soda reacts with the banana's acidity while baking powder lifts everything evenly—use both.
- Salt (¼ teaspoon): Non-negotiable; it wakes up the sweetness and balances the chocolate.
- Unsalted butter (½ cup, melted): Melting it first saves a step and distributes flavor more evenly through the wet ingredients.
- Brown sugar and granulated sugar (⅓ cup each): Brown sugar adds moisture and molasses depth; granulated gives structure and helps browning at the edges.
- Egg (1 large): Binds everything and adds richness—one is enough because the banana adds moisture.
- Vanilla extract (1 teaspoon): Don't skimp on quality here; it brings out the chocolate and banana complexity.
- Ripe bananas (2, mashed to about 1 cup): They must be spotted and soft or the flavor disappears—overripe is actually your friend.
- Semisweet chocolate chips (½ cup): They soften into pockets of sweetness without overpowering the banana.
- Chopped walnuts (½ cup): Toast them lightly first if you have time; it deepens their flavor and makes them taste less raw.
- Dark chocolate, chopped (½ cup, optional): This is insurance for chocolate lovers—it adds richness and complexity beyond what chips alone can do.
Tired of Takeout? 🥡
Get 10 meals you can make faster than delivery arrives. Seriously.
One email. No spam. Unsubscribe anytime.
Instructions
- Heat your oven and prep the skillet:
- Set the oven to 350°F and lightly grease a 10-inch cast-iron skillet with butter or spray. Cast iron browns beautifully and keeps the edges crispy while the center stays tender.
- Mix your dry ingredients:
- In a medium bowl, whisk together oats, flour, baking soda, baking powder, and salt until evenly combined. This prevents lumps and distributes the leavening agents uniformly.
- Cream the sugars with melted butter:
- Combine melted butter, brown sugar, and granulated sugar in a large bowl, stirring until the mixture feels creamy and slightly thick. The warmth of the butter helps dissolve the sugars.
- Add the egg and vanilla, then the bananas:
- Beat in the egg and vanilla until incorporated, then fold in the mashed bananas—don't worry if some texture remains. The banana should be mostly smooth but doesn't need to be perfectly uniform.
- Fold the dry mixture into the wet:
- Add the dry ingredients to the banana mixture in two or three additions, folding gently with a spatula until just barely combined. Overmixing toughens the cookie texture.
- Fold in the chocolate and walnuts:
- Gently fold in the chocolate chips, walnuts, and chopped dark chocolate if using, distributing them evenly. Keep your hand light here—you're tucking, not stirring.
- Spread into the skillet:
- Pour the batter into the prepared skillet and use a spatula to smooth it into an even layer. It doesn't need to be perfectly level—slight dips and rises create varied textures.
- Bake until golden:
- Bake for 22 to 25 minutes, until the edges turn golden brown and a toothpick inserted near the center comes out with just a few moist crumbs. The center will continue cooking as it cools.
- Cool briefly, then serve:
- Let the skillet rest for about 10 minutes so it's easier to serve and the flavors settle. Serve warm straight from the pan, with vanilla or chocolate ice cream if you like.
 Pin It
 My neighbor stopped by unannounced midway through baking, and the smell hit her before she'd even walked fully inside. She stayed for the whole cooling period, us both hovering slightly too close because it was almost impossible to wait. That's when I realized this skillet cookie isn't really about the recipe—it's about creating an excuse to gather around something warm and not quite ready to share.
The Cast-Iron Advantage
A cast-iron skillet does something special here that a regular baking pan won't replicate. It distributes heat evenly from underneath, creating edges that are almost caramelized while the center stays tender and chewy. The first time I made this in a regular cake pan, the edges felt a bit dry by comparison. Once I switched to cast iron, that textural contrast became part of the appeal—crispy exterior, soft interior, all in one pan.
Why Bananas Matter More Than You'd Think
The banana does invisible work here beyond just flavor. It adds natural moisture and binding power, which means you don't need extra eggs or butter to keep the cookie tender. It also reacts with the baking soda to create a subtle lift that makes the texture lighter than you'd expect from such a rich batter. I once tried this with bananas that were barely yellow, thinking it didn't matter—the result was flat and one-note. Wait for the spots.
Serving and Storage Wisdom
This skillet cookie is best eaten within a day or two of baking, either still warm or gently reheated. It stores well covered on the counter and honestly tastes good at room temperature, but the texture is most magical while still carrying a hint of warmth. Leftovers can be wrapped individually and frozen for up to a month, then microwaved for 15 to 20 seconds to restore that just-baked softness.
- If the skillet cools too much before serving, pop it back in a 300°F oven for 5 minutes to warm through.
- A scoop of vanilla ice cream is optional but recommended—it melts right into the warm cookie and bridges all the flavors.
- This recipe doubles easily in a larger skillet or two smaller ones, perfect for feeding a crowd or meal prepping.
 Pin It
 This skillet cookie taught me that the best desserts are often the ones that taste like an accident in the best way—unexpected flavor combinations that somehow just work, served warm, meant to be shared. Make it once and you'll find yourself returning to it on mornings when you want something that feels both indulgent and gathered around.
Recipe FAQs
- → What makes this skillet different from regular oatmeal cookies?
The cast-iron skillet creates edges that bake up beautifully crisp while keeping the center soft and tender. Plus, baking in one pan means less cleanup and an impressive presentation served directly at the table.
- → Can I make this ahead of time?
Yes! You can prepare the batter up to 24 hours in advance and store it covered in the refrigerator. Let it come to room temperature for about 20 minutes before baking, or add 2-3 minutes to the baking time.
- → What's the best way to serve this?
Serve warm straight from the skillet—ideally 10 minutes after removing from the oven. A scoop of vanilla ice cream melting over the top creates the perfect contrast between hot and cold, while a drizzle of caramel sauce adds extra richness.
- → Can I substitute the walnuts?
Absolutely! Pecans work beautifully for a buttery flavor, or try toasted pecans for extra crunch. If you need it nut-free, simply omit them entirely—the chocolate and banana flavors still shine through wonderfully.
- → How do I know when it's done baking?
Look for golden-brown edges and a set center. A toothpick inserted in the middle should come out with moist crumbs but not wet batter. The center will continue setting as it cools, so don't overbake.
- → Can I use quick oats instead of old-fashioned rolled oats?
Old-fashioned oats provide better texture and chewiness. Quick oats will work in a pinch, but the final result may be softer and less hearty. For the best texture, stick with rolled oats.