 Pin It
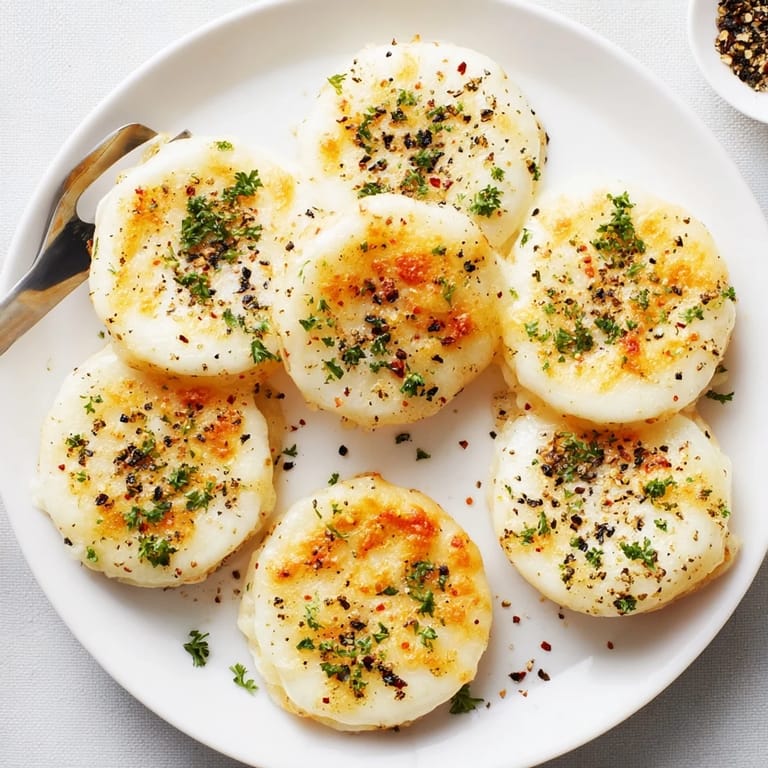
 I stumbled upon this recipe during a late-night pantry raid when all I had were some plain rice cakes and cheese. The transformation of those humble ingredients into something so addictively crispy and cheese-pull worthy was nothing short of magical. My kitchen filled with the aroma of toasted cheese and herbs as these little stacks baked, and I knew I'd discovered something special. What started as desperate hunger became a go-to snack that friends now specifically request when visiting.
Last winter during a power outage, I fired up our gas stove and made these by stovetop method in a covered pan. We huddled around the kitchen island, breaking off pieces of the crispy cheesy stacks, the warm food somehow making the darkened house feel cozier. My daughter declared it the best power outage ever, and now sometimes asks if we can turn off the lights just to recreate that evening.
Ingredients
- Rice Cakes: The plain round ones work best as they provide the perfect neutral canvas for the cheesy flavors to shine.
- Cheese Blend: The combination of stretchy mozzarella and savory parmesan creates the perfect balance of melt and flavor I discovered after several delicious test batches.
- Olive Oil: Just a light brushing helps the rice cakes achieve that gorgeous golden crust that makes this dish irresistible.
- Herbs and Spices: The oregano and garlic powder might seem simple but they transform this from a mere cheese snack into something that tastes intentional and complete.
Tired of Takeout? 🥡
Get 10 meals you can make faster than delivery arrives. Seriously.
One email. No spam. Unsubscribe anytime.
Instructions
- Prep your foundation:
- Preheat your oven to 400°F and line a baking sheet with parchment paper. The parchment is non-negotiable unless you enjoy chiseling melted cheese off your baking sheet.
- Build your stacks:
- Arrange 4 rice cakes on the prepared sheet, then sprinkle each with a generous layer of mozzarella and a sprinkle of parmesan. Top each with another rice cake, pressing gently to create your stacks.
- Season with love:
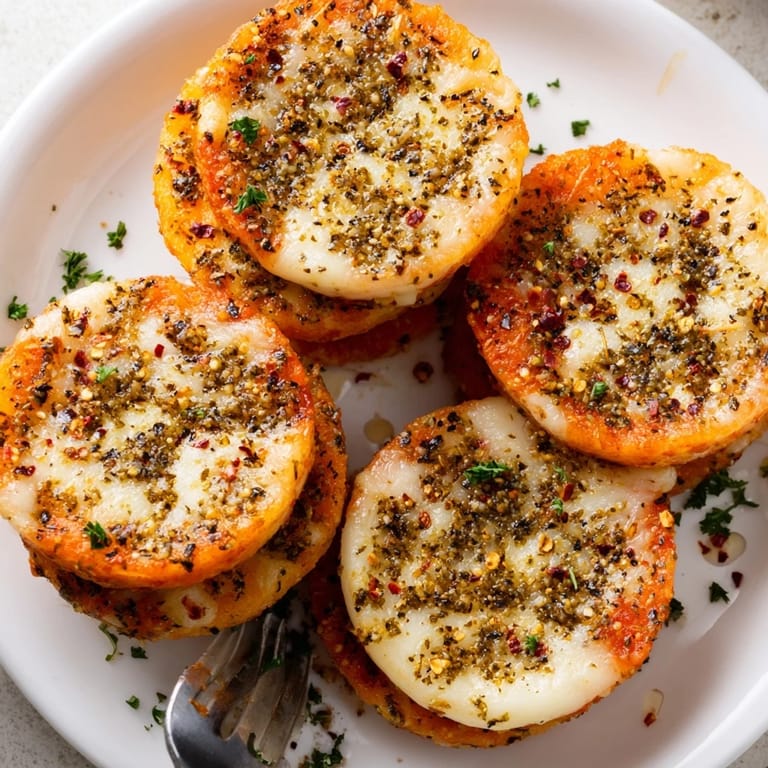
- Brush the tops with olive oil, which helps achieve that beautiful golden crust. Then shower with the remaining cheese and all those aromatic herbs and spices.
- Bake to golden perfection:
- Slide them into your preheated oven for 15-20 minutes. Youll know theyre done when the cheese is bubbling and golden, and the edges of the rice cakes have turned delightfully crisp.
- Garnish and serve:
- Let them cool just slightly so you dont burn the roof of your mouth on molten cheese. Scatter with fresh parsley for a pop of color and fresh flavor.
 Pin It
 My neighbor brought over their five-year-old who was known for being incredibly picky, and I offered her one of these crispy rice cake stacks as an afternoon snack. She took one suspicious bite, then clutched the entire thing to her chest and announced I was not allowed to make these for anyone else ever again. Her mom texted me later asking for the recipe, saying it was the first new food her daughter had willingly eaten in months.
Make It Your Own
While the basic recipe is delicious, Ive found endless ways to customize these stacks depending on my mood and what I have on hand. Sometimes I add a thin slice of tomato between the layers for a pizza-inspired version, or tuck in some basil leaves and a smear of pesto. For a spicier kick, pepper jack cheese and a few pickled jalapeño slices transform these into a southwestern treat that pairs perfectly with cold beer on a hot afternoon.
Serving Suggestions
These crispy stacks walk the line between snack and side dish beautifully. Ive served them alongside a simple tomato soup for a comforting lunch, and they make an unexpected but welcome addition to a charcuterie board. For a fun appetizer presentation, make mini stacks using smaller rice cakes and serve with tiny ramekins of marinara for dipping, turning this simple recipe into something that looks deliberately fancy.
Storage and Reheating
If by some miracle you have leftovers, store them in an airtight container in the refrigerator for up to two days. The microwave will leave them soggy, so I always reheat them in a dry skillet over medium heat or in a 350°F oven for about 5 minutes.
- Let the stacks cool completely before storing to prevent condensation from making them soggy.
- Separate layers with parchment paper if you need to stack them in storage.
- For best results when reheating, place directly on an oven rack rather than a baking sheet to allow air circulation around all sides.
 Pin It
 These crispy, cheesy stacks remind us that sometimes the simplest ingredients combine to create something truly special. Dont be surprised when they become your new favorite way to use up those rice cakes that have been sitting in your pantry.
Recipe FAQs
- → How do I keep the rice cakes crispy after baking?
Cool the stacks on the baking sheet for a few minutes after removing from the oven. This allows the cheese to set slightly while the rice cakes retain their crispness. Store in an airtight container at room temperature for up to 2 days.
- → Can I prepare these ahead of time?
Yes, you can assemble the stacks up to 2 hours before baking. Keep them covered on the baking sheet in the refrigerator. Add a few extra minutes to the baking time if baking from cold.
- → What cheese works best for this dish?
Mozzarella melts beautifully and creates the classic stringy texture, while parmesan adds sharp, salty flavor. You can also experiment with smoked cheese, cheddar blends, or gruyere for different taste profiles.
- → Can I add vegetables between the layers?
Absolutely. Thin slices of tomato, roasted red peppers, or sun-dried tomatoes work wonderfully between the rice cakes. Just pat vegetables dry to prevent excess moisture that could soften the cakes.
- → What dipping sauces pair well with this?
Marinara sauce, pesto, garlic aioli, or sour cream-based dips complement these stacks perfectly. Serve warm for the best experience with melted cheese.
- → Is this suitable for dietary restrictions?
This is naturally vegetarian. For vegan options, substitute dairy cheese with plant-based alternatives. Always verify rice cake packaging for soy or sesame traces if you have allergies.